Marian Makes a Cutting Board
From rough lumber to a finished end-grain board. Four days in the shop, one step at a time.
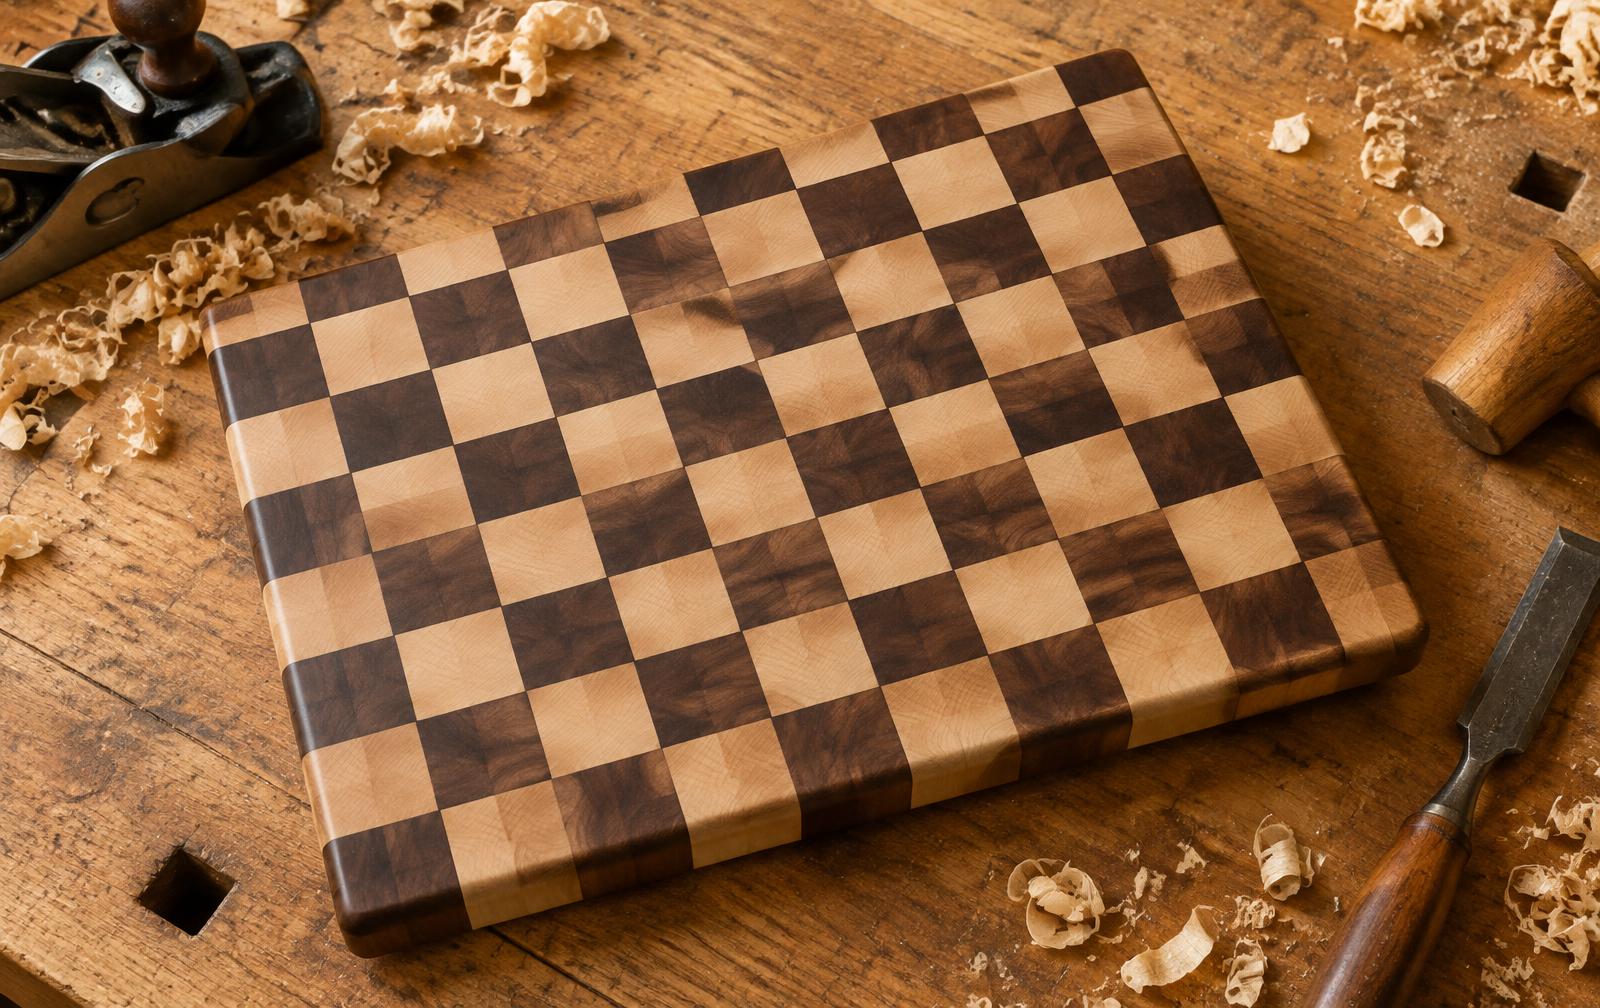
Your four-day plan
Start Day 1Safety comes first
Wear eye, ear, and dust protection. Review each machine’s safety notes before using it, and make your first cuts together.
Mill the wood & first glue-up
Pick safe hardwoods, turn rough lumber into flat, square strips, then glue them into a striped panel.
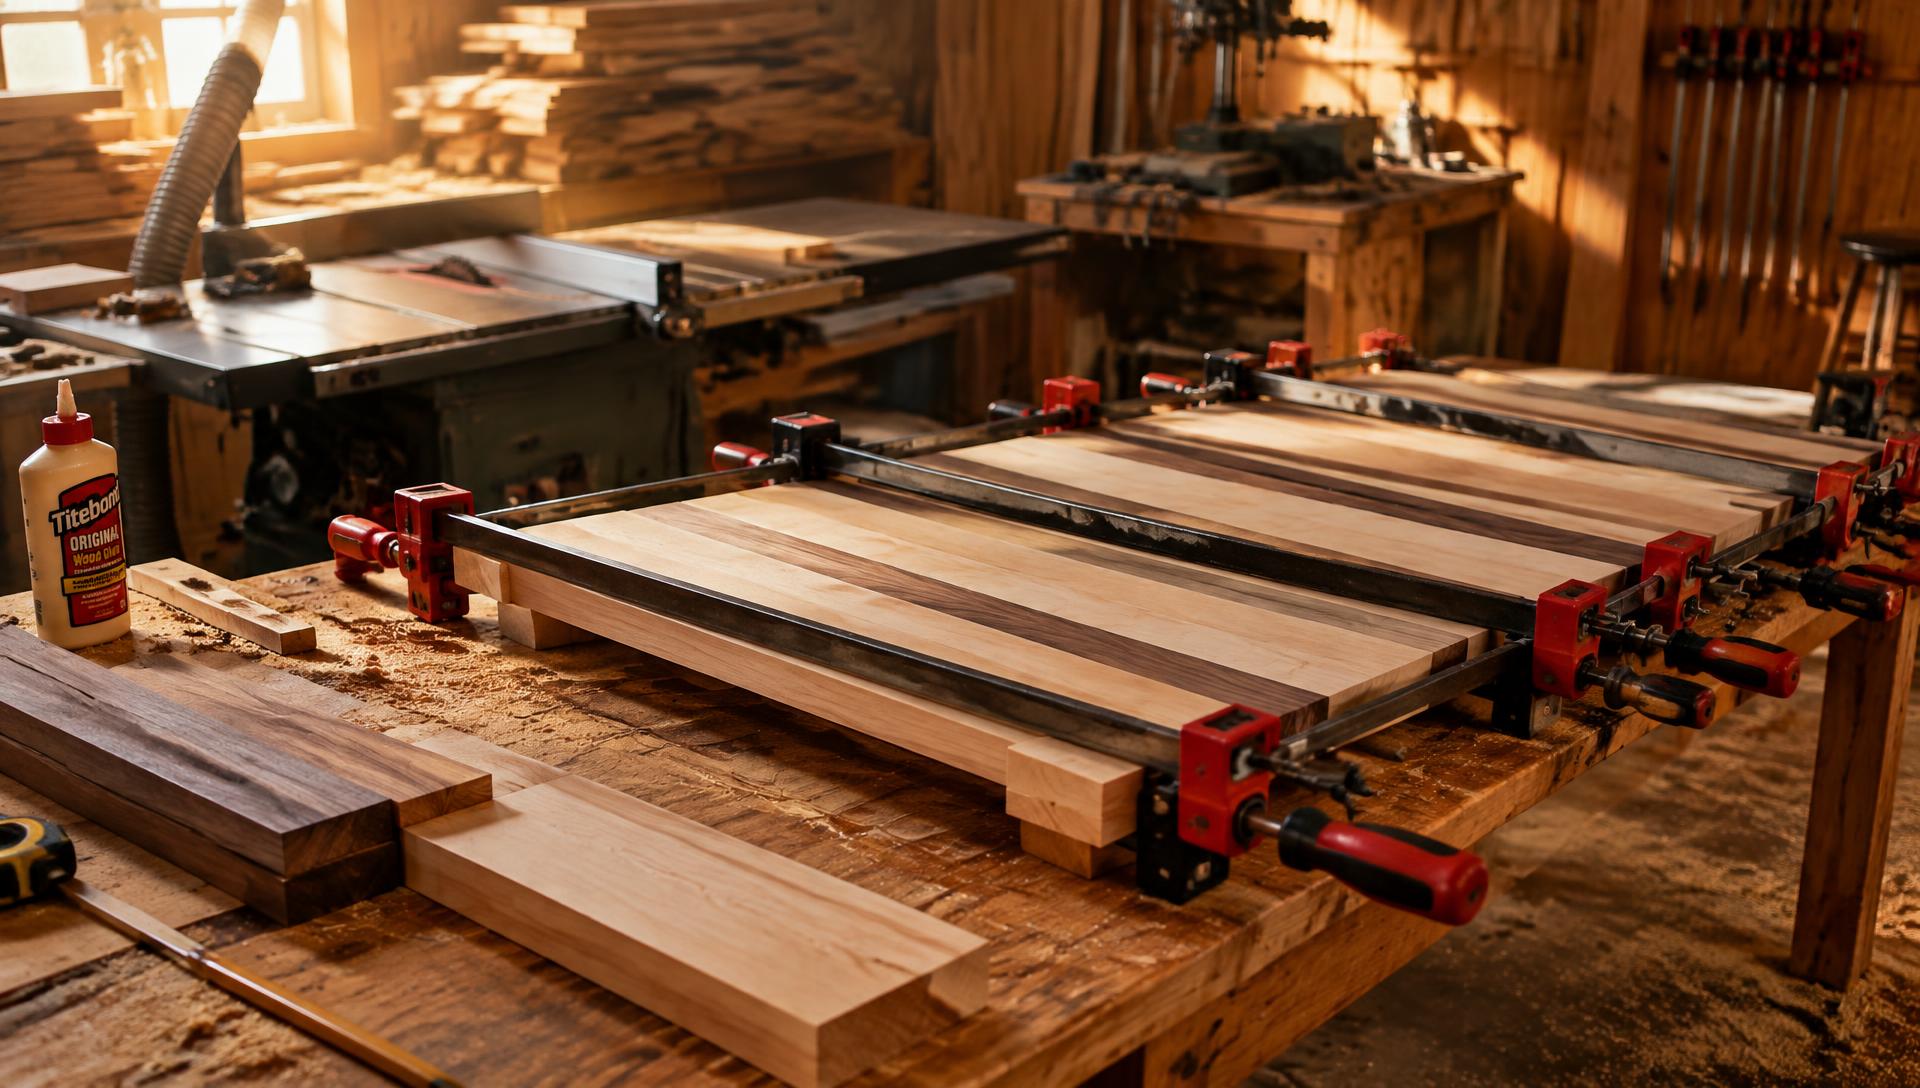
Machines for today
- 1
Pick the wood
Use a dense, closed-grain hardwood that's safe with food: hard maple, walnut or cherry.
Shop notes
- Avoid open-pored woods like red oak — they trap food and bacteria.
- Avoid oily or toxic exotic woods.
- 2
Let it settle
Leave the boards in the shop for a few days so the moisture content evens out. Check with the moisture meter.
- 3
Mill the boards
With the jointer and planer, get one flat face, one square edge and an even thickness on every board.
- 4
Rip into strips
On the table saw, rip strips usually 1½"–2" wide. This width becomes the final thickness of the block.
Shop notes
- Joint or plane the sawn edges so they glue cleanly.
- 5
Lay out the strips
Arrange the strips in order. Alternate species for a pattern, then draw a pencil triangle across all of them so you can't mix up the order.
- 6
Glue and clamp
Spread waterproof glue (Titebond III) on each edge. Alternate clamps above and below to keep the panel flat; use cauls if needed.
Shop notes
- Remove squeeze-out once it turns rubbery.
- 7
Let it cure
Leave it clamped overnight.
Let the panel cure overnight before Day 2.
Flatten, crosscut & second glue-up
Sand the panel flat, slice it across, flip the pieces to show end grain, and glue again.
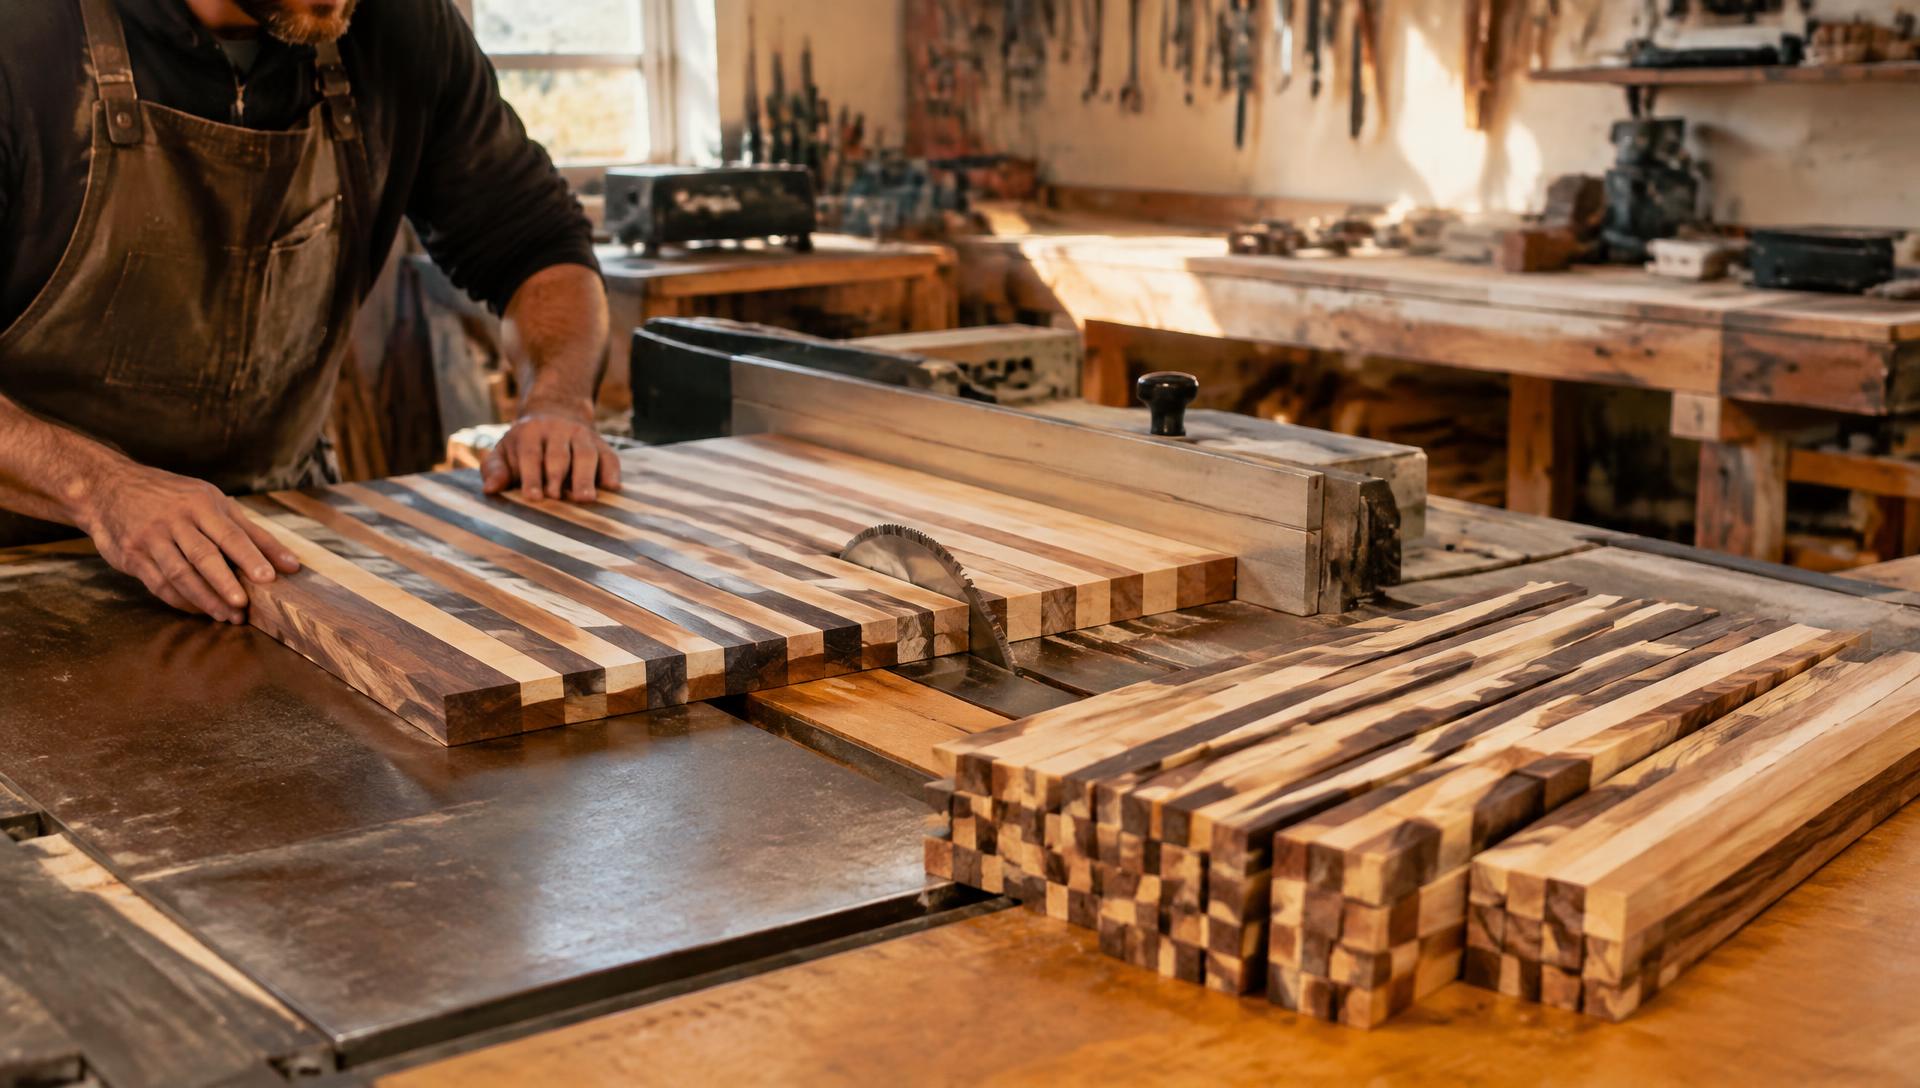
Machines for today
- 1
Flatten the panel on the drum sander
Get both faces flat and parallel.
Shop notes
- Scrape off dried glue first.
- Start at 80 grit (60 if strips are badly uneven) and finish at 120.
- Lower the drum ⅛–¼ turn per pass; back off if the motor bogs down.
- Flip after each pass.
- Feed at a slight 10–15° angle at first, then straight for the last pass.
- 2
Crosscut into strips
Square one end, then crosscut strips the same width as the finished thickness. Use a sled or miter gauge with a stop block so every strip is identical.
- 3
Rotate for end grain
Turn each strip 90° so the end grain faces up. Flip every other strip end-for-end to get the checkerboard offset.
- 4
Glue up again
End grain soaks up glue, so apply a generous coat. Keep the joints lined up and the panel flat while clamping.
Let the block cure fully (24 hours is ideal) before Day 3.
Flatten, square & shape
Make the end-grain block flat, trim it square, and soften the edges.
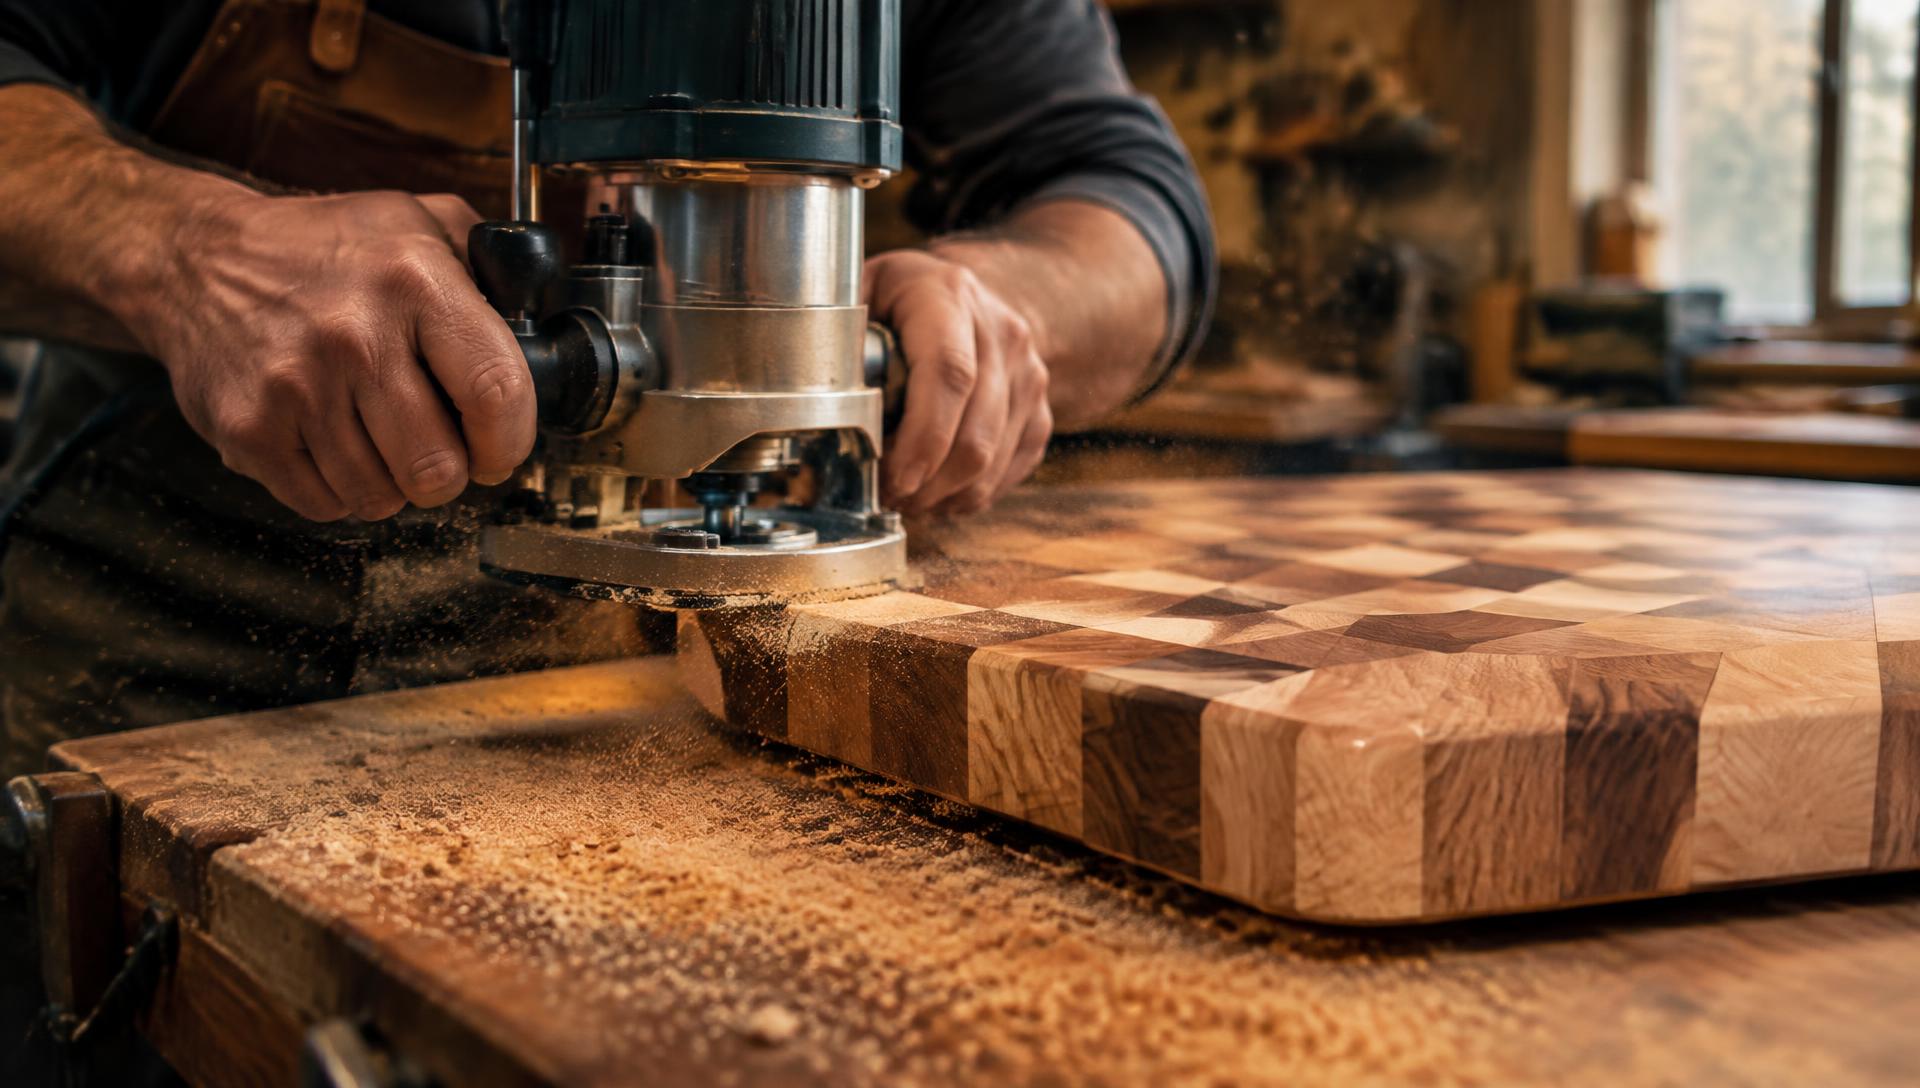
Machines for today
- 1
Flatten the end grain
Back to the drum sander — but gentler than Day 2, because end grain burns easily.
Shop notes
- Slower feed, lighter passes.
- Clean the paper often with an abrasive cleaning stick. Burn marks or shiny streaks mean it's loaded or cutting too deep.
- Flip between faces after each pass.
- Finish with a few extra light passes at 120 grit to even ridges at glue lines.
- Support the block going in and out. Leave extra length to trim off snipe (a dip at the ends).
- 2
Trim the sides square
Use the table saw or a crosscut sled. This also removes any snipe.
- 3
Rout the edges
Use a roundover or chamfer bit on the top and bottom edges.
- 4
Optional extras
Finger grips routed into the sides, a juice groove, or rubber feet.
Sand & finish
Sand smooth, raise the grain, and oil it so it's ready for the kitchen.
Machines for today
- 1
Sand through the grits
80 → 120 → 150 → 180, and 220 if you like. End grain shows scratches, so don't skip grits.
- 2
Raise the grain
Wipe the block with a damp cloth, let it dry, then lightly sand again at the final grit. This keeps it smooth after its first wash.
- 3
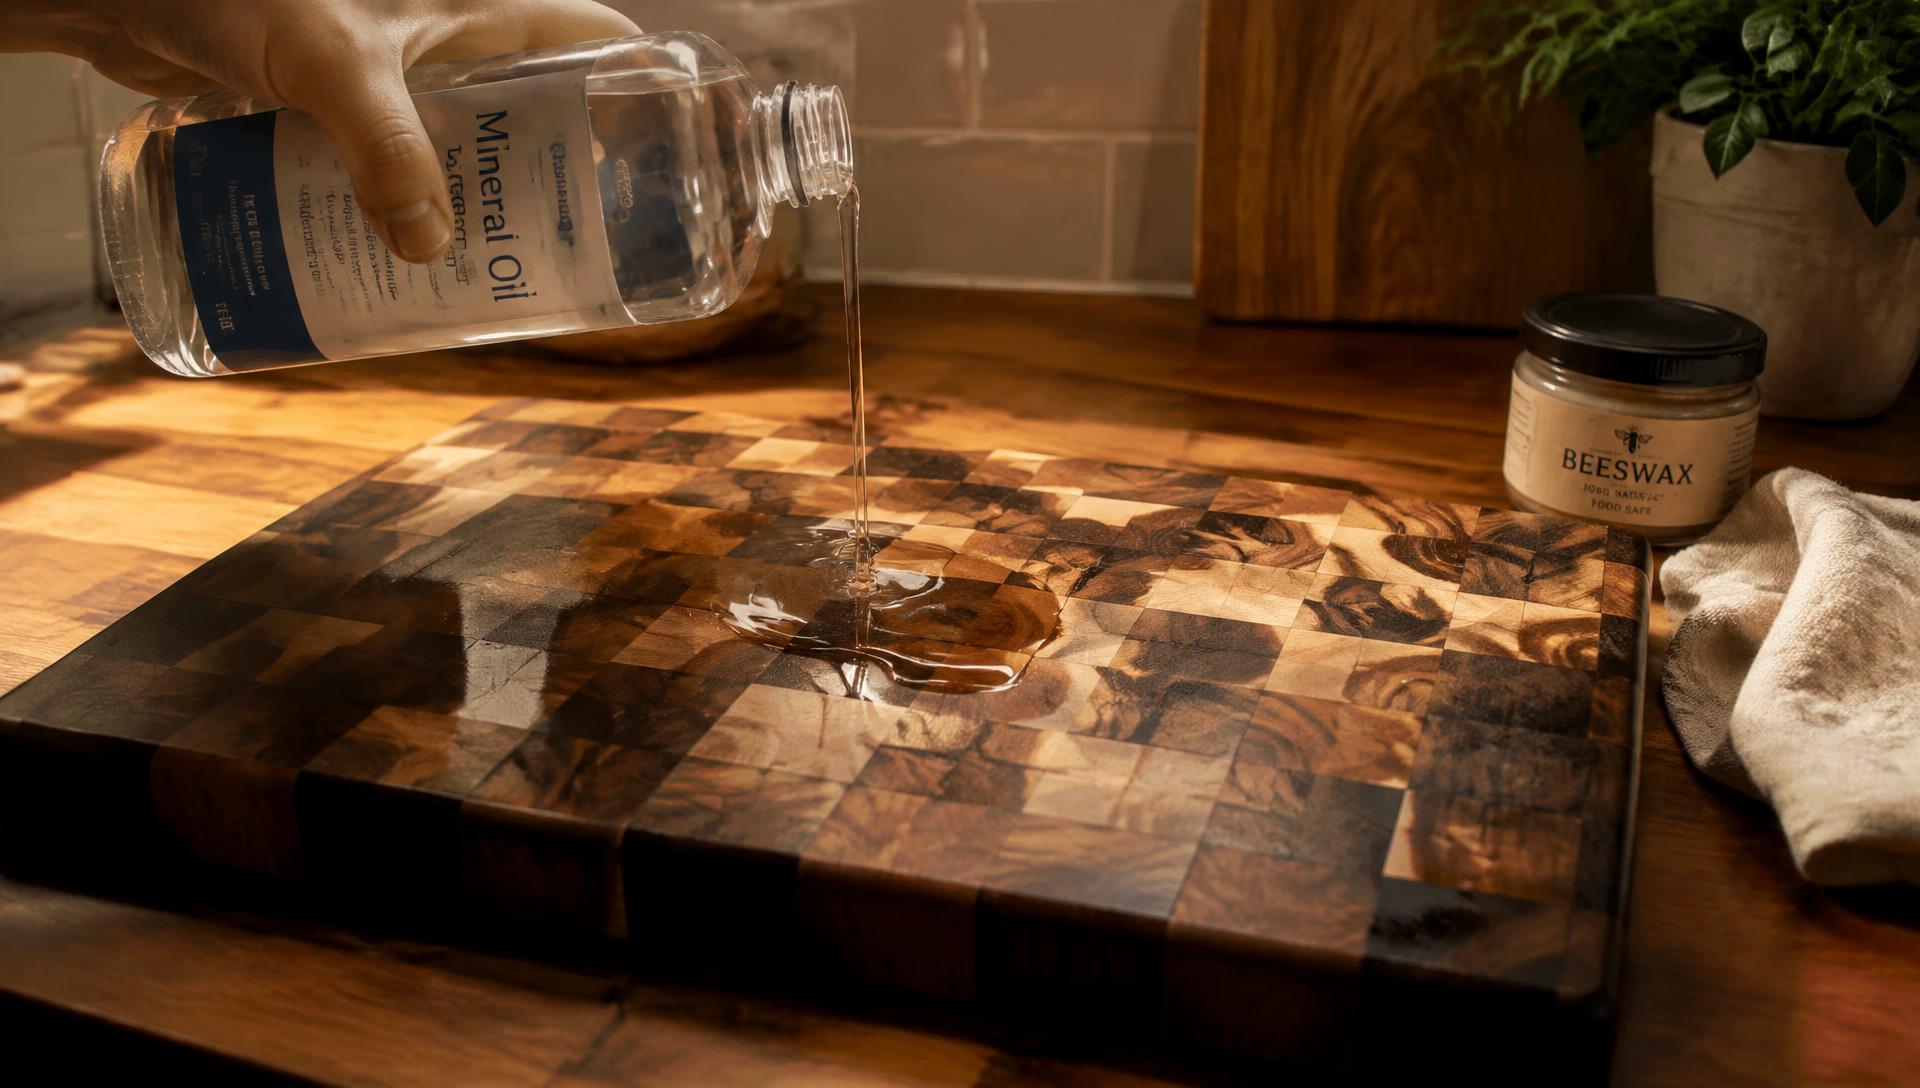
Flood with mineral oil
Pour on food-safe mineral oil until it stops soaking in. Let it sit several hours or overnight, then wipe off the extra.
- 4
Board butter
Rub on board butter (mineral oil + beeswax) and buff it.
- 5
Care going forward
Re-oil every few weeks or whenever it looks dry. Hand wash only — never soak it or put it in the dishwasher.