Marian Makes

Tool & safety guide

The machines, supplies, and safety notes for our cutting board.

Safety gear

Safety glasses, hearing protection and a dust mask or respirator. Worn every time a machine is running.

How to use it

  • Put glasses and ear protection on before you switch anything on.
  • Wear a dust mask (N95 or better) when sanding or cutting — fine wood dust irritates lungs.
  • Tie back long hair, remove jewelry and roll up loose sleeves.

Safety

  • No gloves near spinning blades or bits — they can get pulled in.
  • Closed-toe shoes only.

Moisture meter

A small handheld gadget that reads how much water is in the wood. Wet wood shrinks and cracks later.

How to use it

  • Press the pins (or pad) against a fresh surface of the board.
  • Aim for roughly 6–9% before you start cutting.

Safety

  • The pins are sharp — keep the cap on when not in use.
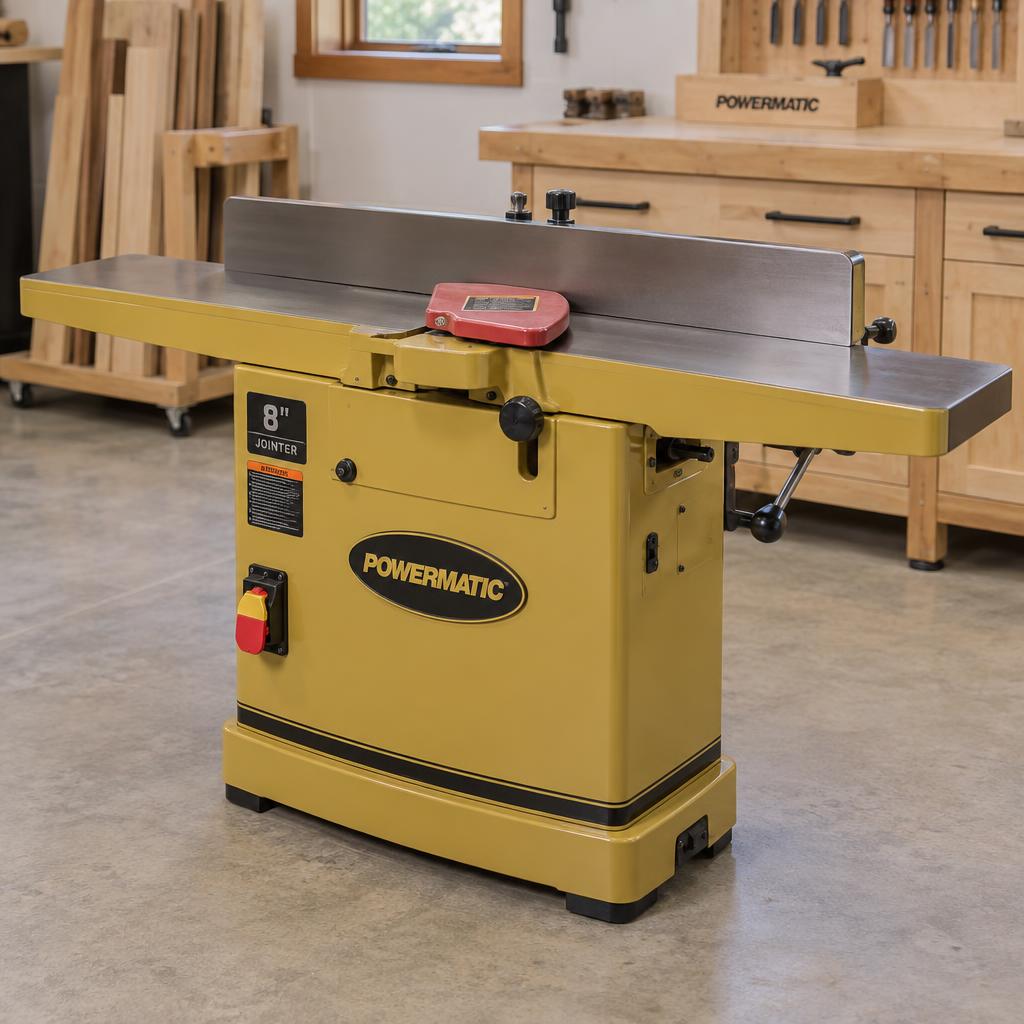
Jointer (Powermatic 8")

Jointer (Powermatic 8")

A machine with a spinning cutter set into a long flat table. It makes one face of a board flat and one edge square to that face.

How to use it

  • Set a shallow depth of cut (about 1/16").
  • Press the board down on the outfeed table (the far side) as you push it across.
  • Flatten one face first, then put that face against the fence and joint an edge.

Safety

  • Always use push blocks — your hands never pass directly over the cutter.
  • Never joint boards shorter than about 12".
  • Keep the blade guard in place; it swings back over the cutter.
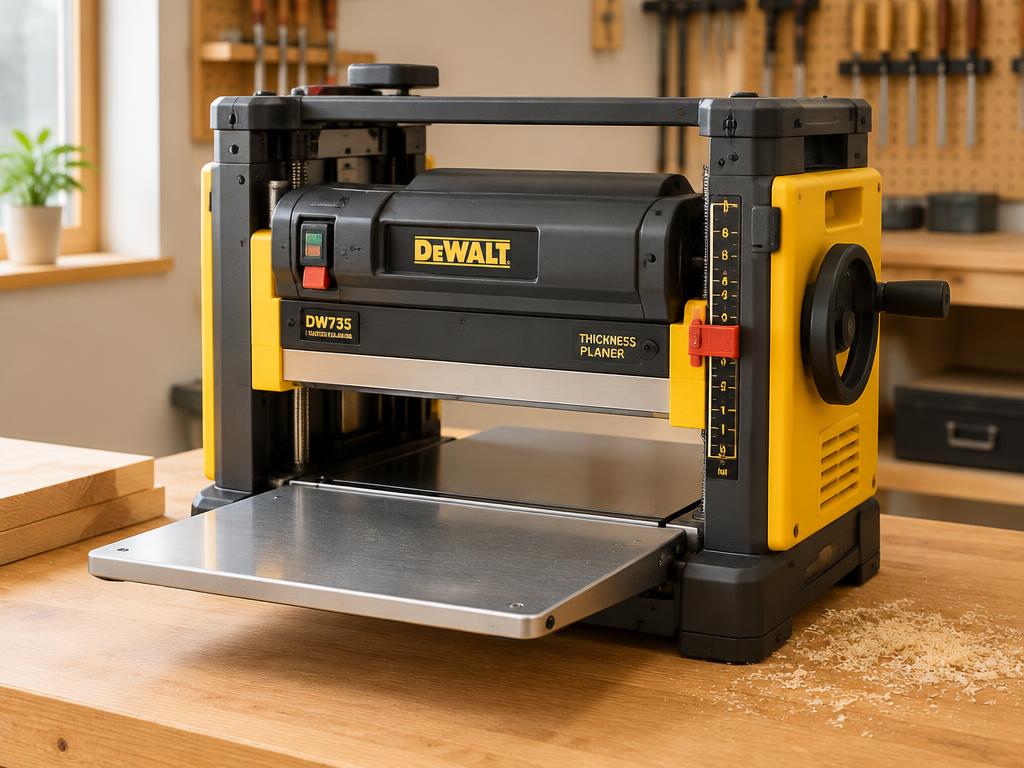
Thickness planer

Thickness planer

A machine that shaves the top of a board so it ends up parallel to the bottom and an even thickness.

How to use it

  • Feed the board flat face down — the planer copies whatever is underneath.
  • Take light passes (about 1/32") and flip end-for-end between passes.
  • Keep feeding boards until they all reach the same thickness.

Safety

  • Stand to the side, never directly behind the board — it can kick back out.
  • Never reach inside; let the rollers pull the board through.
  • Very loud — ear protection is mandatory.
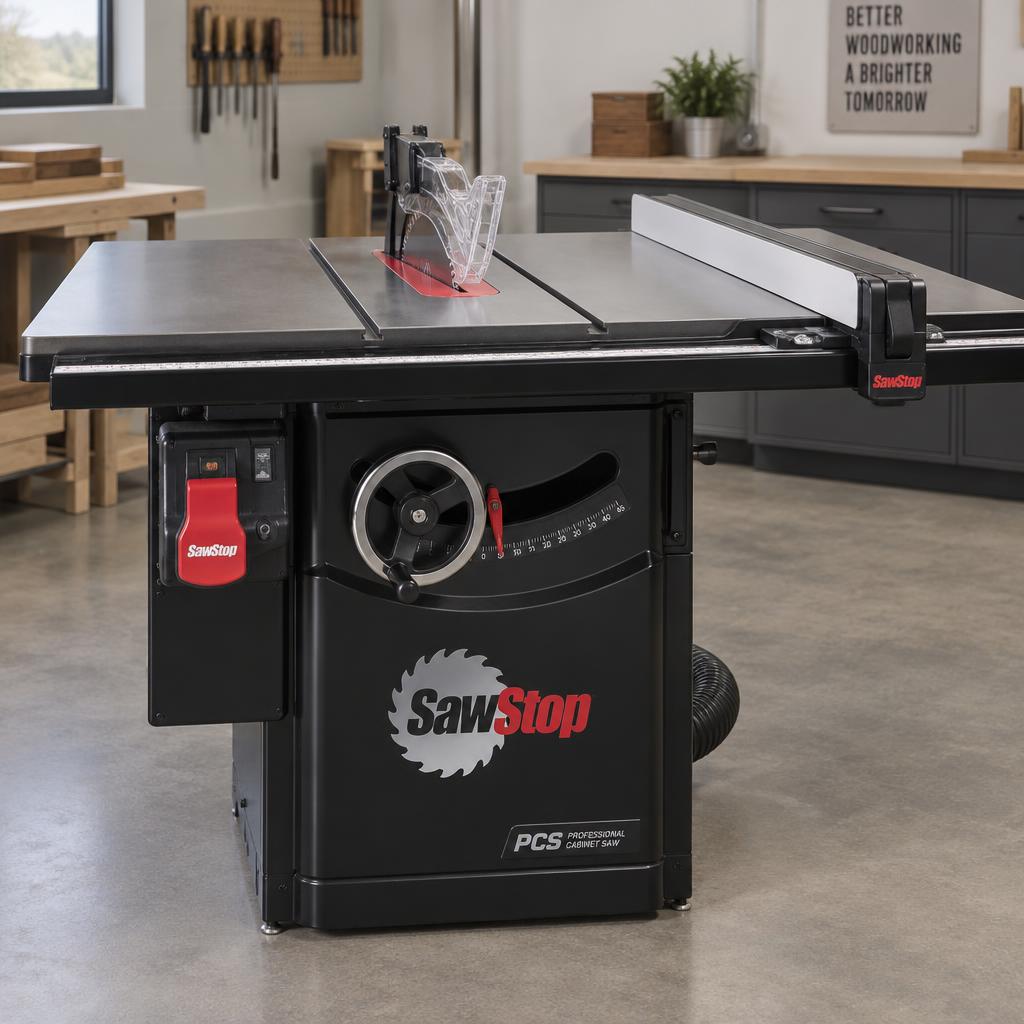
Table saw (SawStop)

Table saw (SawStop)

A circular blade sticking up through a flat table. Ripping = cutting along the length using the fence; crosscutting = cutting across using a sled or miter gauge.

How to use it

  • Set the blade so it sticks up about 1/4" above the wood.
  • For ripping, keep the board tight to the fence and push steadily through.
  • For crosscuts, use a sled or miter gauge with a stop block — never the fence alone.

Safety

  • Use a push stick whenever your hand would come within 6" of the blade.
  • Keep the riving knife / splitter installed — it prevents kickback.
  • Stand slightly to the side of the blade, not directly behind it.
  • Never reach over a spinning blade. Wait for it to stop completely.
  • Never use the fence and miter gauge at the same time on one cut.

Bar / pipe clamps & cauls

Long clamps squeeze glued strips together. Cauls are straight boards clamped across the panel to keep it flat.

How to use it

  • Space clamps about every 8–10", alternating one above and one below.
  • Tighten until a thin even bead of glue squeezes out — not as hard as possible.
  • Put tape or wax paper on cauls so they don't glue to the panel.

Safety

  • Keep fingers clear of the jaws while tightening.
  • Wear gloves or wash hands after handling glue.

Waterproof wood glue (Titebond III)

A food-safe-when-cured, water-resistant wood glue. Strong enough that the joint is stronger than the wood.

How to use it

  • Roll or brush an even coat on every mating face.
  • Scrape off squeeze-out when it turns rubbery (about 20–40 minutes).
  • Let it cure overnight before machining.

Safety

  • Avoid eyes and skin; wash off with water while wet.
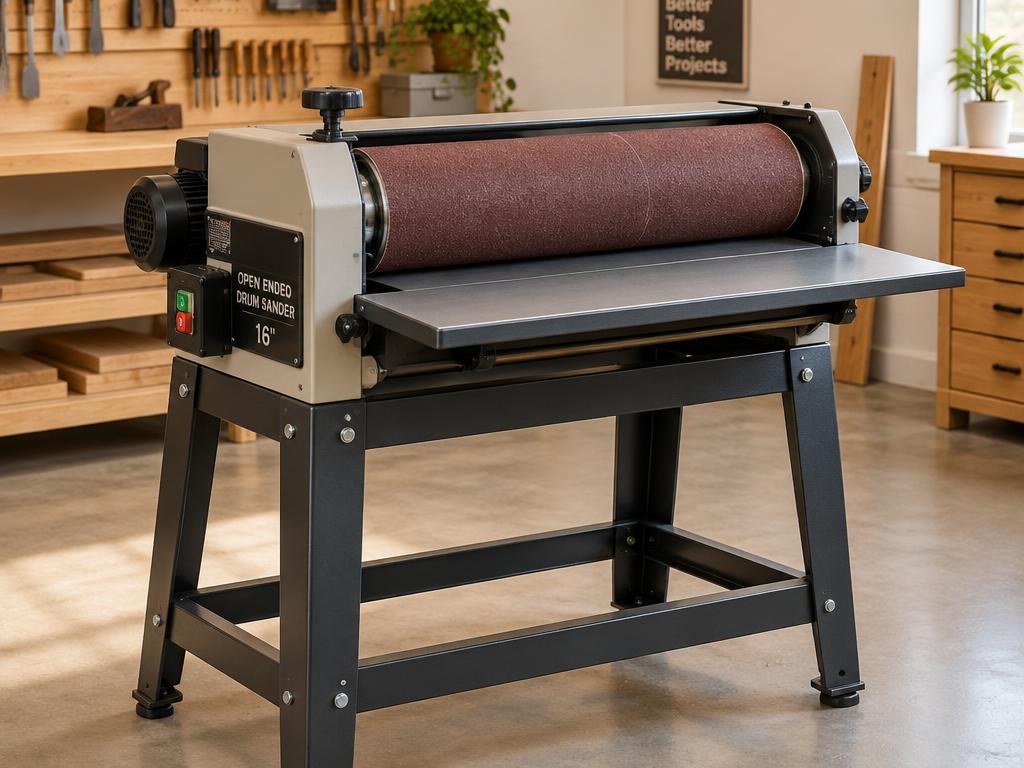
Drum sander

Drum sander

Like a planer, but with a sandpaper-wrapped drum. Safe for end grain, which a planer would shatter.

How to use it

  • Lower the drum about 1/8–1/4 turn per pass.
  • If the motor bogs down, back off.
  • Flip the piece after each pass so both faces end up flat.

Safety

  • Connect dust collection — it makes a lot of fine dust.
  • Feed only; never pull the piece back against the drum.
  • Wear a respirator.

Paint / card scraper

A flat blade used to pop off dried glue before sanding, so it doesn't clog the sandpaper.

How to use it

  • Hold at a low angle and push or pull across the glue lines.

Safety

  • Edges can be sharp and get hot with use.
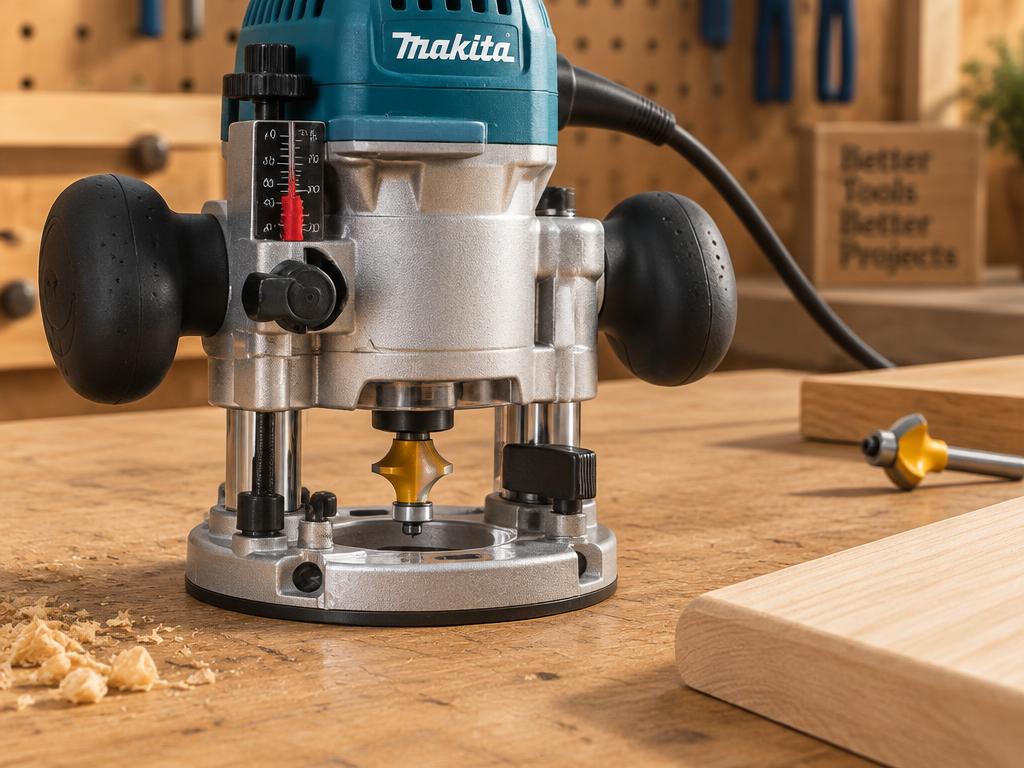
Router (with roundover / chamfer bit)

Router (with roundover / chamfer bit)

A handheld motor spinning a shaped bit very fast. A roundover bit softens edges into a curve; a chamfer bit makes an angled bevel.

How to use it

  • Unplug before changing bits. Insert the bit at least 3/4 of the shank deep and tighten.
  • Move the router counter-clockwise around the outside of the board.
  • Take light passes; clamp the board firmly first.

Safety

  • Both hands on the handles at all times.
  • Let it reach full speed before touching wood, and stop fully before lifting.
  • End grain can tear out at corners — rout end grain sides first.
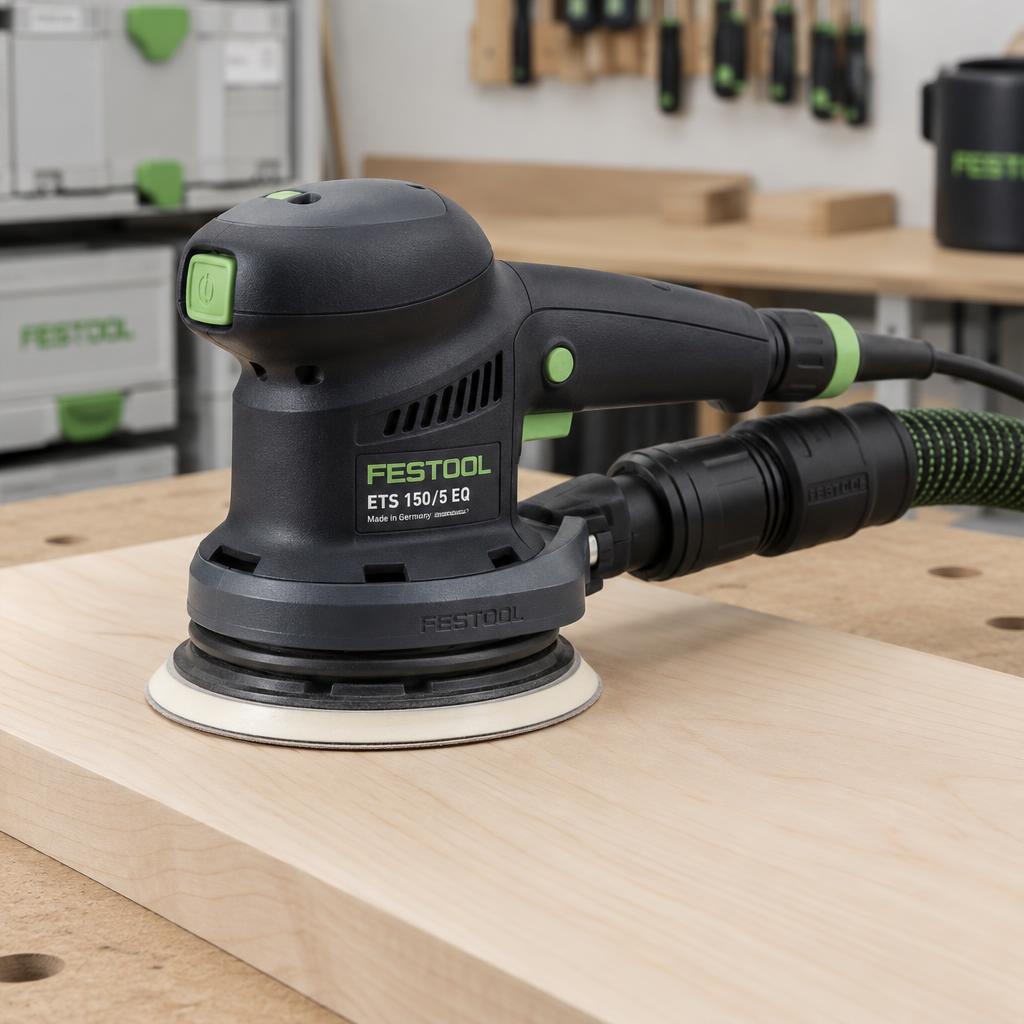
Random orbit sander (Festool)

Random orbit sander (Festool)

A handheld sander whose pad spins and wobbles so it doesn't leave swirl marks.

How to use it

  • Let the weight of the tool do the work — don't press hard.
  • Move slowly, overlapping passes. Go through every grit in order.
  • Wipe off dust between grits to check for scratches.

Safety

  • Dust mask and dust extraction.
  • Set it down only after it stops spinning.

Mineral oil & board butter

Food-safe mineral oil soaks in and protects the wood. Board butter (oil + beeswax) seals the surface.

How to use it

  • Flood oil on with a rag until it stops soaking in.
  • Let sit several hours or overnight, then wipe off the excess.
  • Rub on board butter and buff to a soft sheen.

Safety

  • Use food-grade mineral oil only — never cooking oils (they go rancid).
  • Oily rags are generally safe with mineral oil, but lay rags flat to dry anyway.